Scenario:
Your company wants to start shifting from using on-premises servers to using servers in the cloud. Rather than purchasing all the infrastructure in a data center, they ask you to create an EC2 instance in AWS to host their new website.
Requirements
- AWS free tier account
Step 1: Deploy EC2 Instance
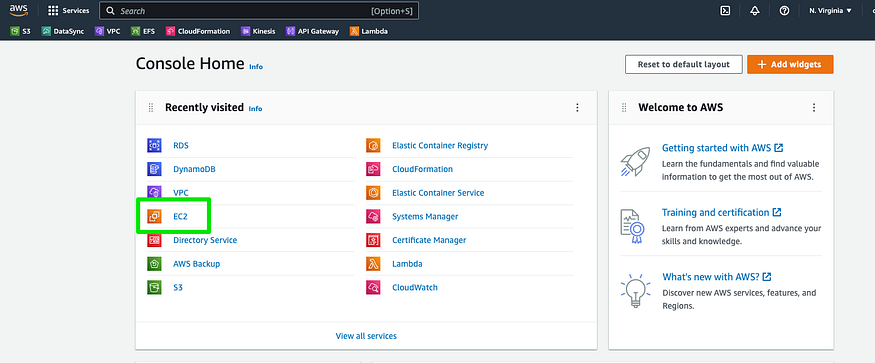
Access the EC2 service through your AWS account. Use the search bar at the top left to locate the service if it is not listed on your homepage.
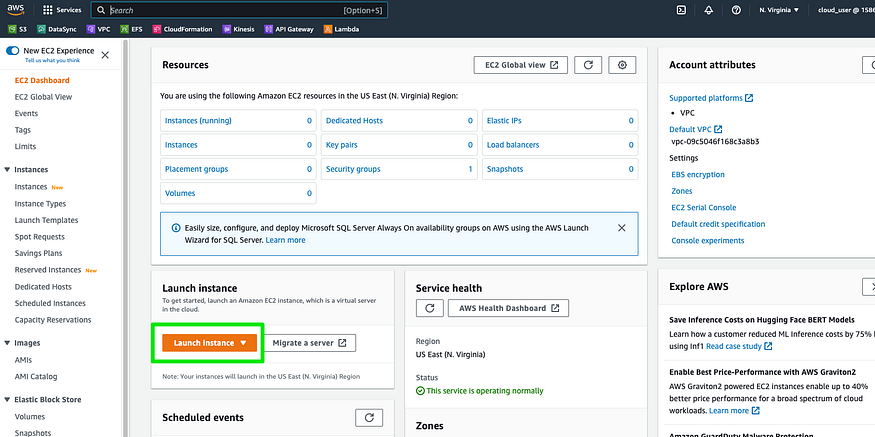
Click “Launch Instance”
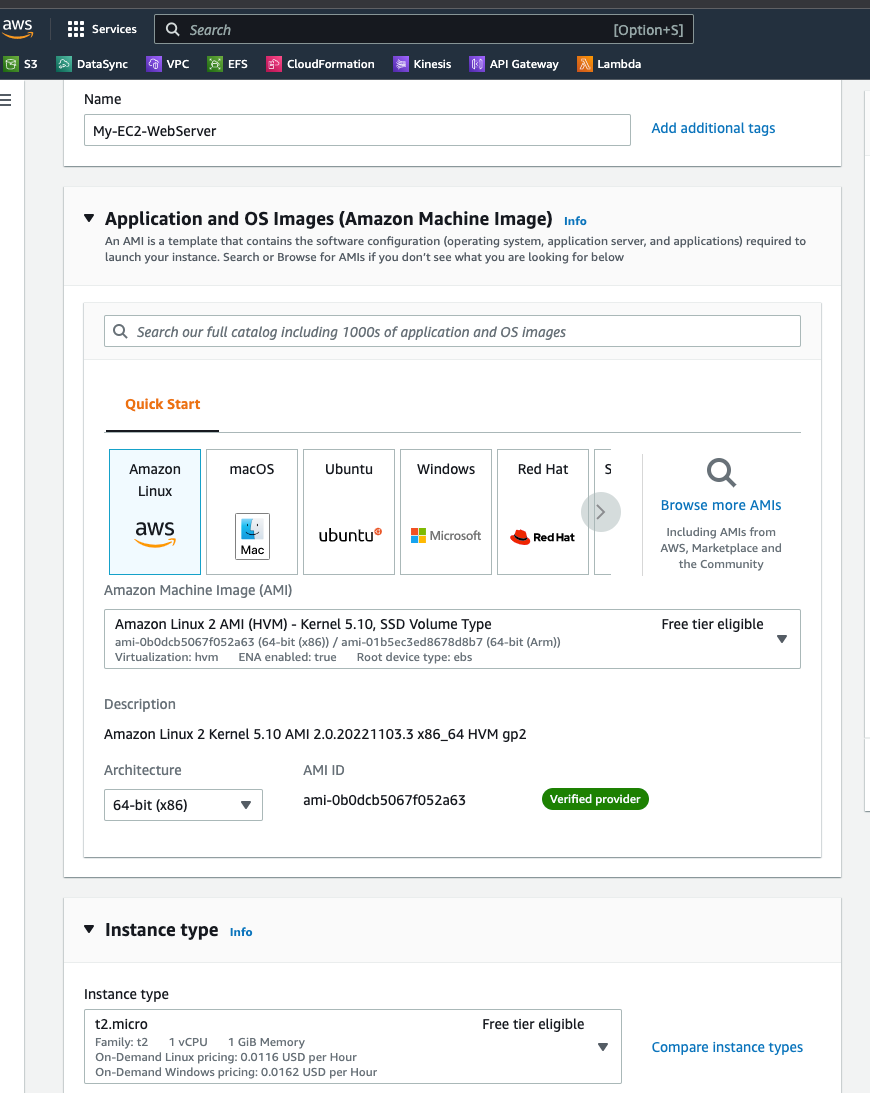
Now we can name it and select the desired AMI and instance type. I’ll choose an instance type that remains in the free tier.
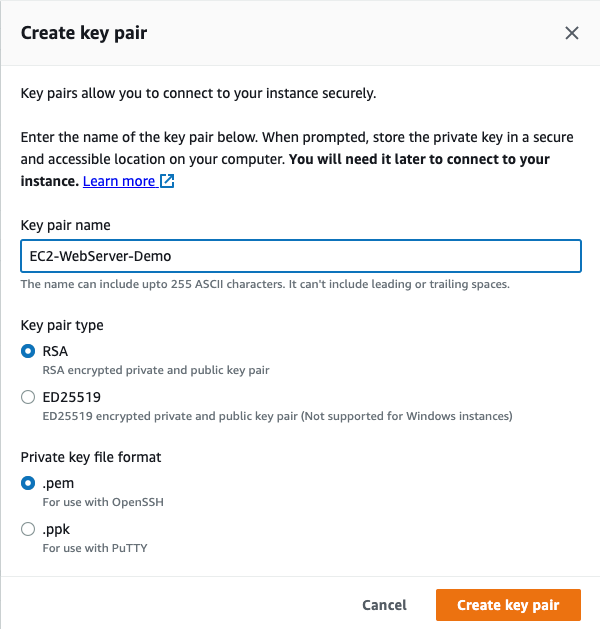
Next, we need to create a Key Pair. This will issue a set of SSH keys to enable us to remote into our instance via SSH.
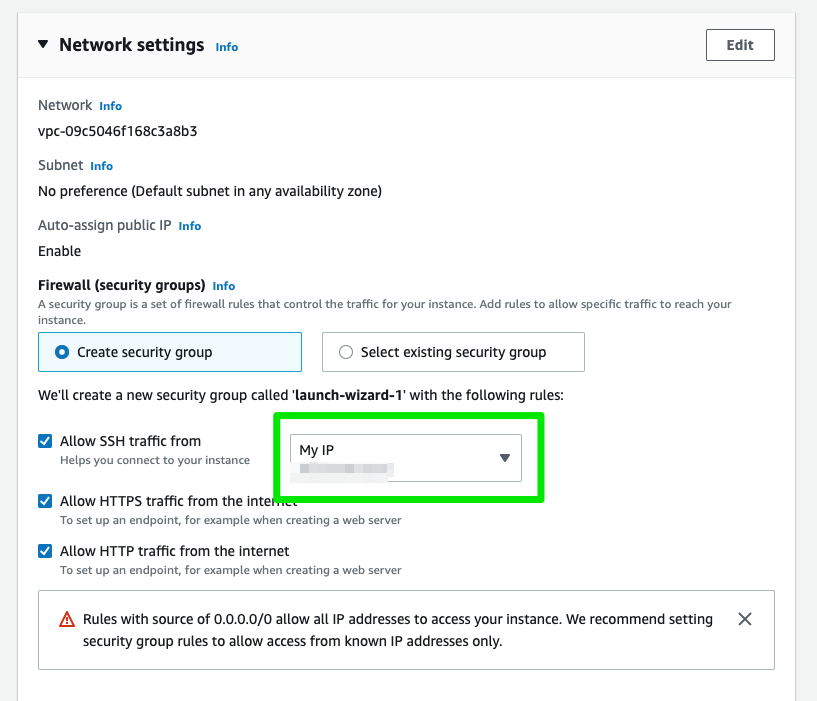
Next, we need to create a new security group to allow the public to access the webpage and allow us to ssh into the server. Check all boxes and input your IP address in the “Allow SSh traffic from” drop menu. This will allow only access from your IP to be able to SSH to the server.
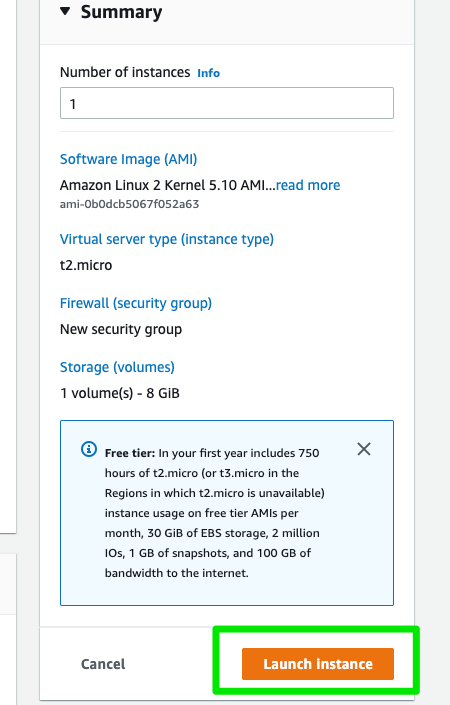
Click “Launch Instance” to deploy the instance.
Step 2: SSH into the Instance
Now will SSh into the instance. From the EC2 services page locate and click on your instance.

Click on the “Connect” button then the “SSH client tab”. This will display the necessary information and commands we will use to remote in.

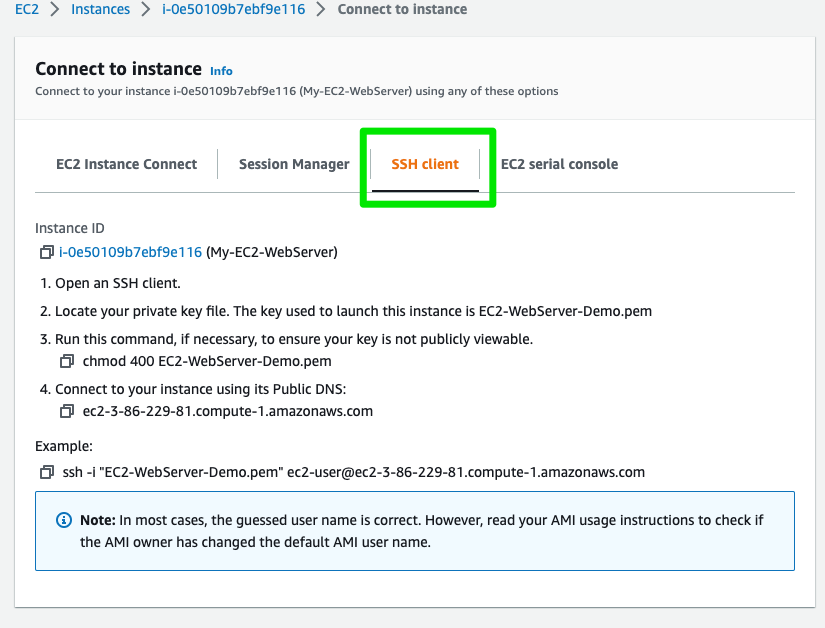
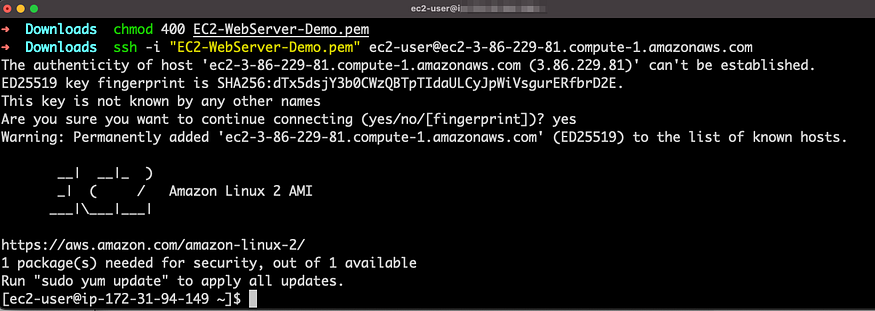
Open up a terminal on your local machine and follow the instructions as outlined.
Step 3: Install Apache
Let’s create a BASH script for the installation. Open up your favorite editor and input the following code.
#!/bin/bash
sudo yum update -y
yum install -y httpd
sudo systemctl start httpd
sudo systemctl enable httpd
sudo echo '<center><h1>This Apache Web Server is Running on an AWS EC2 Instance </h1></center>' > /var/www/html/index.html
Save the file as “install.sh” and give it execute permissions and run the script.

Final Step: Access web site
Now that the service has been installed and is running. Input the public IP of the instance into a web browser to confirm

No comments:
Post a Comment